Wood. It’s the first thing you collect in Minecraft to craft a crafting table, which then allows you to craft countless other items. Unfortunately, crafting in real life is not as easy as punching a tree and clicking a button.
The Physical Unknown
My entire life, I have been known as the tech guy. I can confidently say that I can fix any software problem you ask me for help with and I can whip up iOS and Mac apps to solve various problems in no time at all. Digital technological understanding has always been a gift of mine and skills in utilizing digital tools to create and solve problems are skills that I continuously have worked to continue to sharpen. However, using physical tools, crafting, and visualizing 3D structures is something that I am extremely unfamiliar with. When starting this project, I found myself at a total loss of any idea on where and to start. My complete lack of confidence with working with physical goods, using power tools, and subpar hand control made this project extremely difficult for me to begin.
Selecting a shape
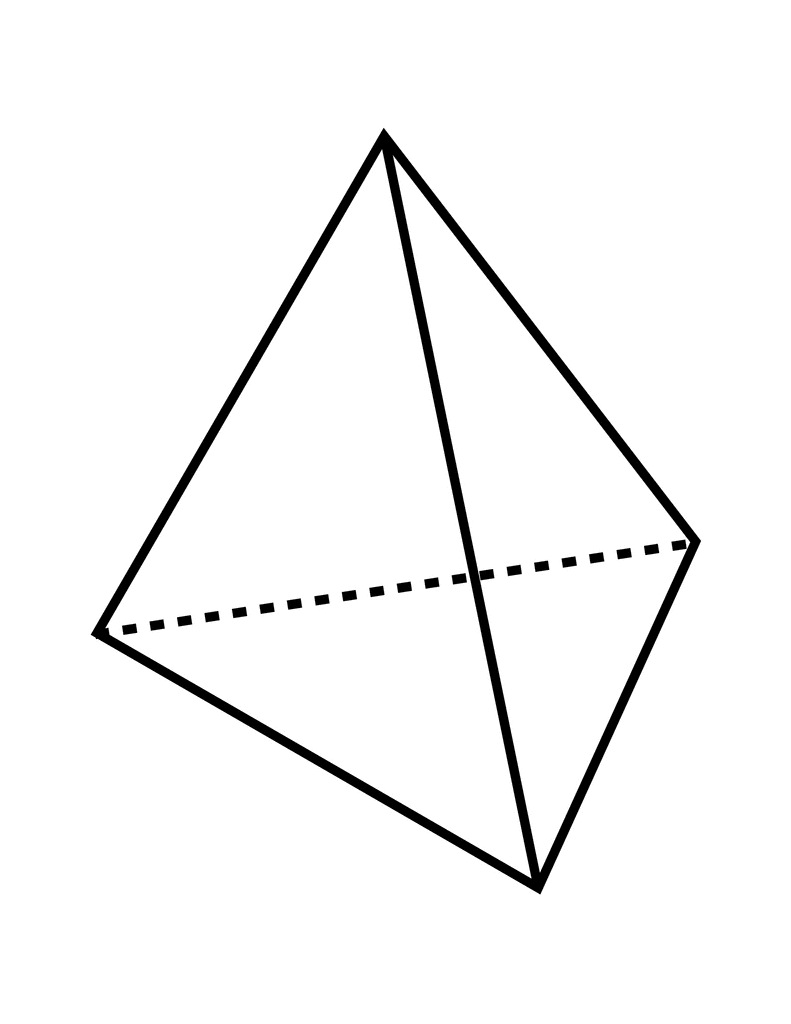
For this project, I was tasked with creating a convex polyhedron from a 0.75″x 5.5″ x 12″ plank of hardwood. I choose to use popler as my hardwood given that it was the only plank type remaining in the lab to my knowledge. I decided I would attempt to create a triangular pyramid consisting of 4 triangles.
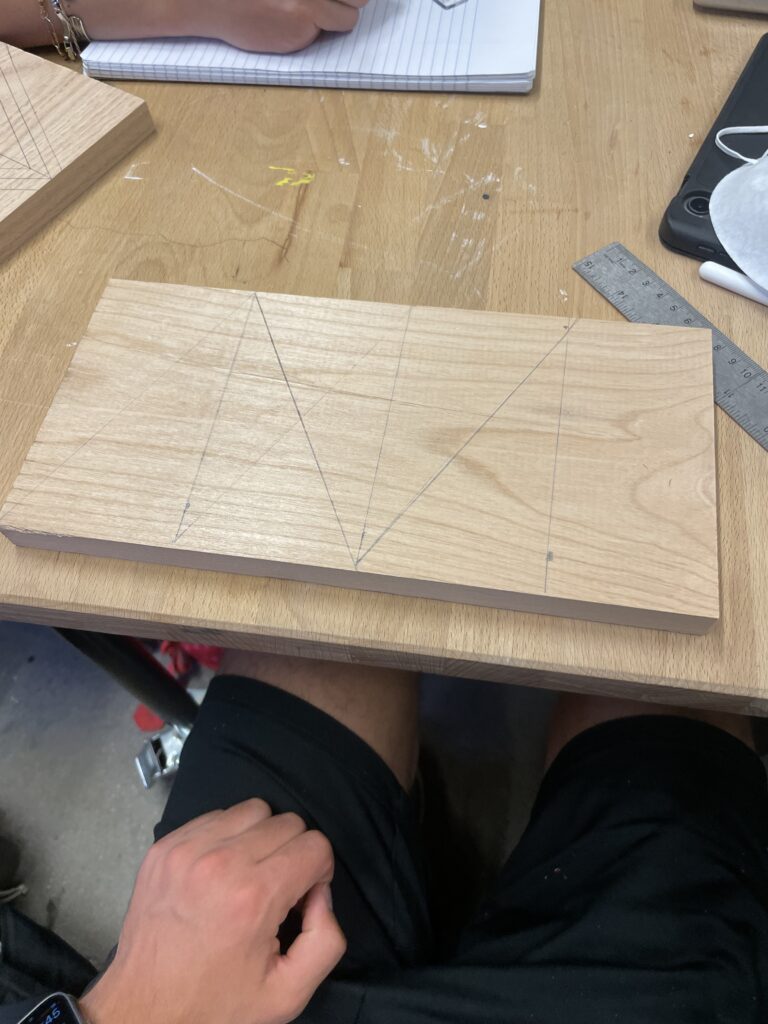
To cut the piece, I drew lines every 3 inches on the board and then drew 3 triangles with pencil to aid in lining the blade for cutting.
Chop till ya drop
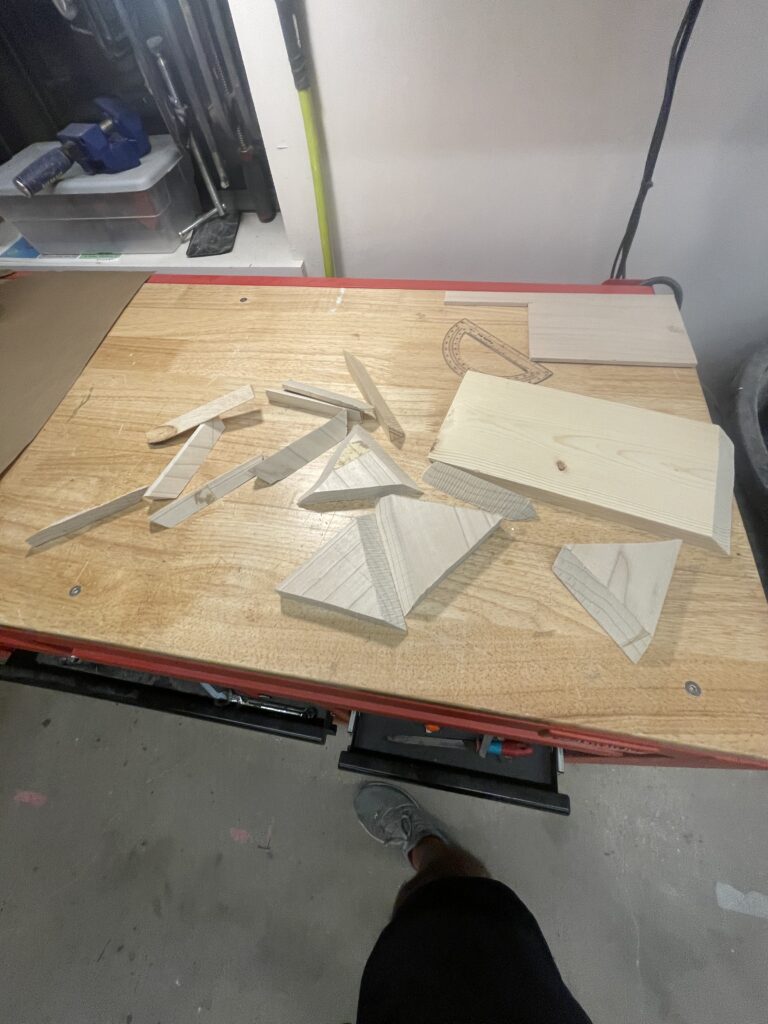
My next step was to cut the triangles. I received advice to cut one triangle and then trace that on the board before cutting more, that way I could eliminate imperfections in my drawing of the lines. I used the band saw to cut the triangles.
I realized I needed to have angles on the sides of each triangle to be able to connect them together without large gaps. I tried tilting the band saw plate at an angle and was able to get a few good cuts. However, I struggled to cut a perfect straight line every time and messed up drastically on multiple edges. I eventually realized I needed to start over if I was going to do anything that resembled a pyramid.
Taking a new approach
After consulting with the Danny, I was given the suggestion of gluing together the triangle scraps from my failed prototype and “sculpting through subtraction”. This would allow me to avoid the difficulty of measuring and cutting precise angles in the wood to make a shape. I decided that in addition to gluing the scraps together, I would cut a new board into pieces and glue those together, this way I would have a second chance to sculpt a solid if I were to critically mess up.

Saw, Sand, Repeat
Due to the unevenness of the stacked triangles I glued together, I decided that I would utilize the newly glued triangles as my first attempt at sculpting. My goal was to even out the piece so that there were no gaps between the triangles. This meant that I would have to remove all of the excess wood until each triangle was the same size as the smallest triangle I glued together.
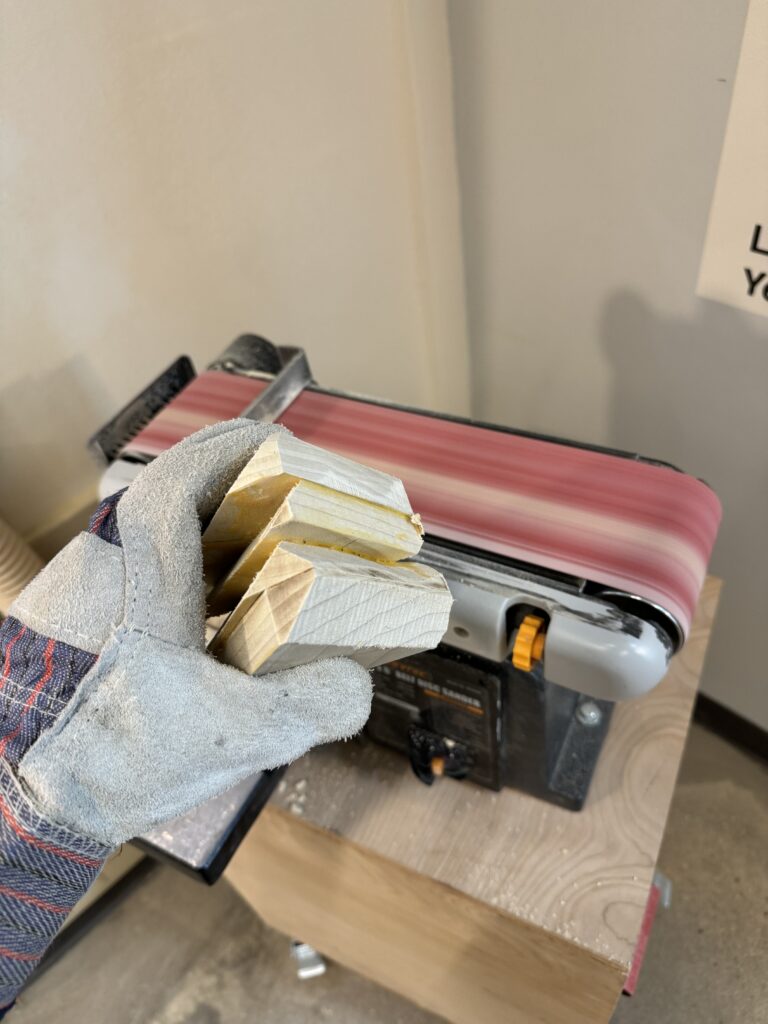
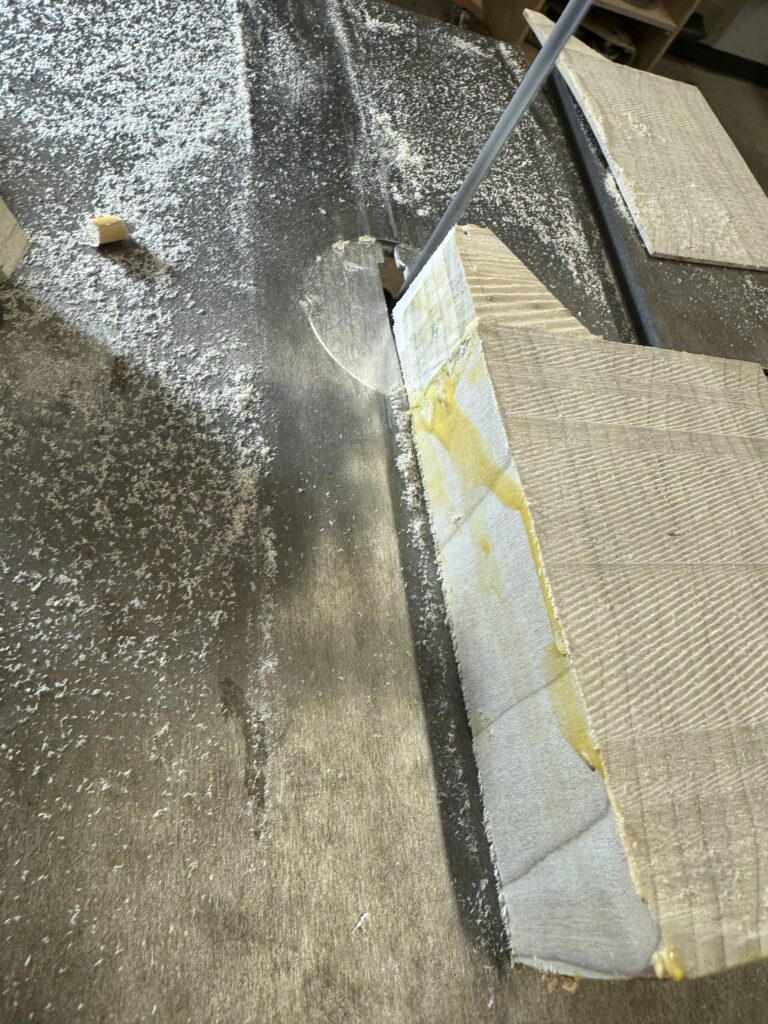
At first, I attempted to utilize the belt sander alone to get the pieces to even out. This was taking an extremely long time, so I decided to use the band saw instead.
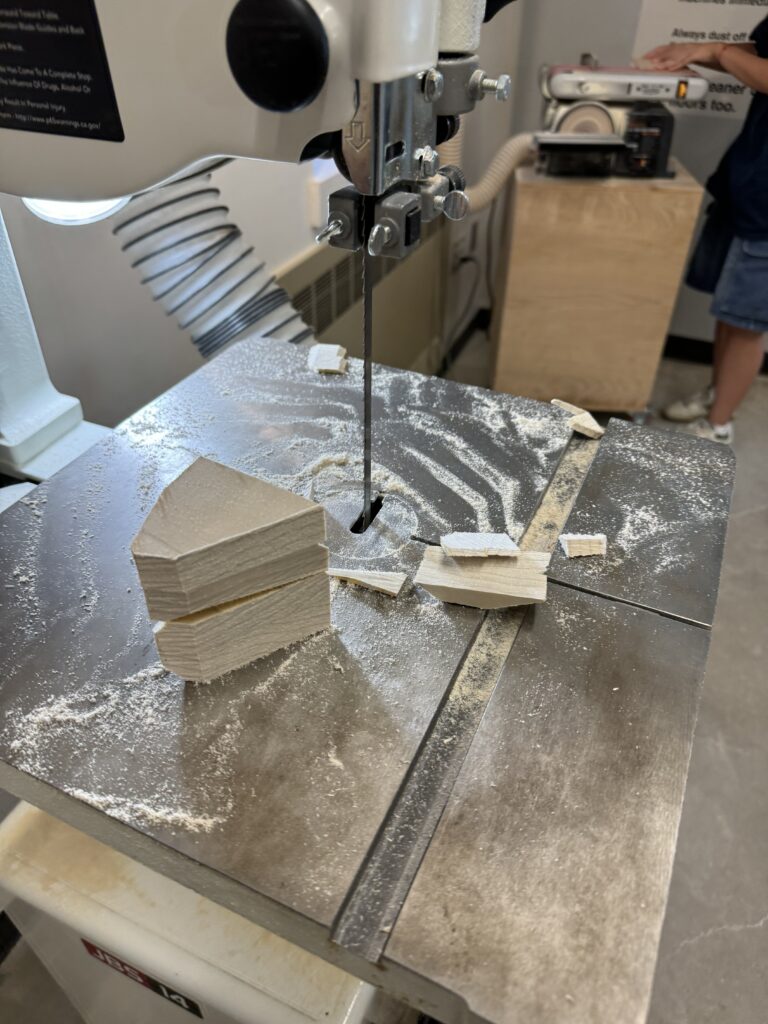
With the band saw, I successfully cut the triangle into a singular triangular prism shape with only one crevice. I was then able to sand the remaining crevice off using the belt sander.
Building the other block
Having been satisfied with the triangle shape I was able to make, I decided to try carving the other block I had made by gluing freshly cut rectangular prisms together. I started off by using the band saw to cut the uneven parts of the rectangular prisms as well as any excess glue that remained. To my surprise, I was able to get an extremely smooth wood block that was difficult to determine that it was created through gluing multiple rectangular prisms together.
Combining the two blocks.
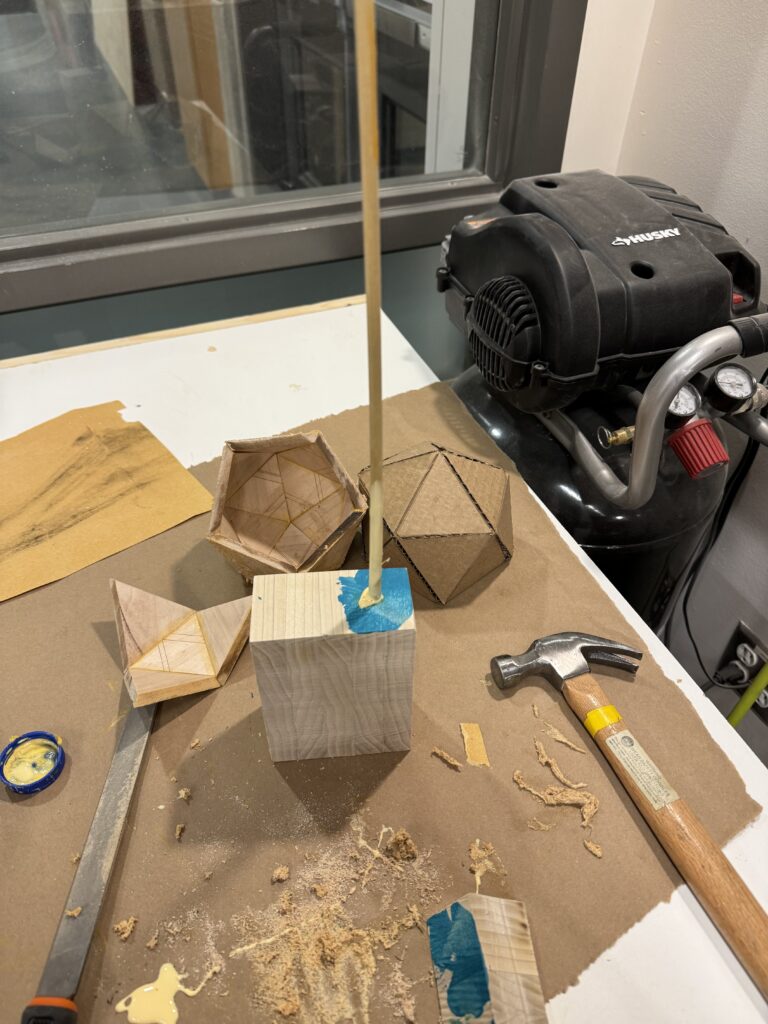
Given that I wanted something more complicated than a thick rectangular prism, I decided I would attempt to connect both the mini triangular prism and the rectangular prism together. To do this, I thought it would be useful to use a dowel joint.
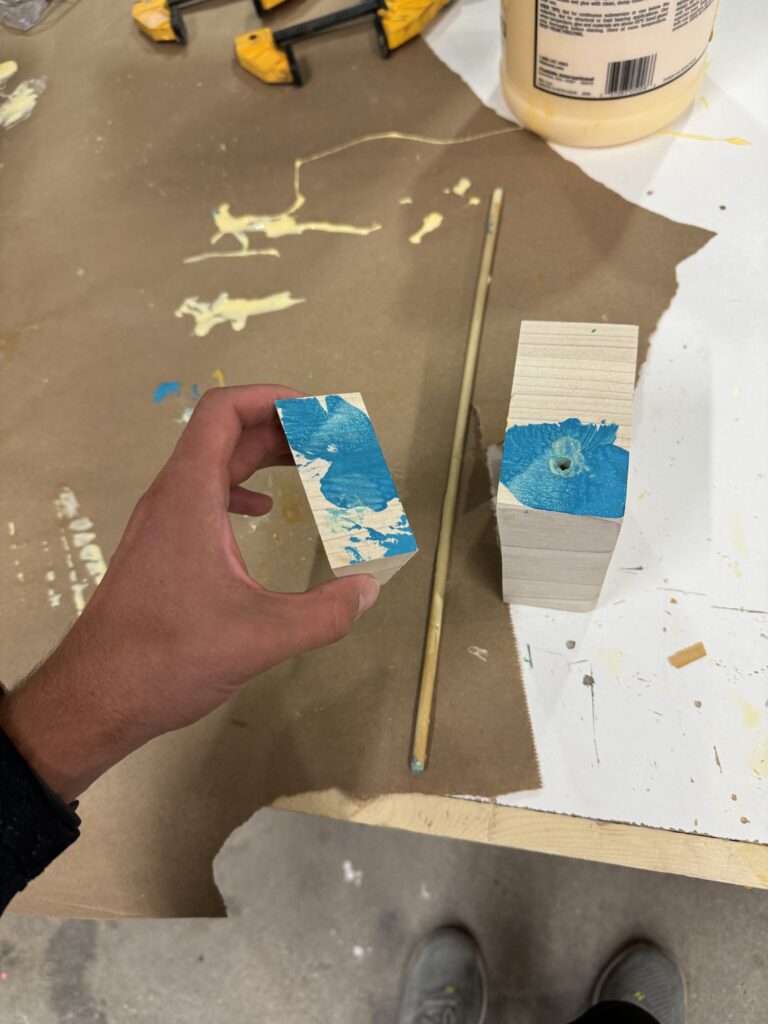
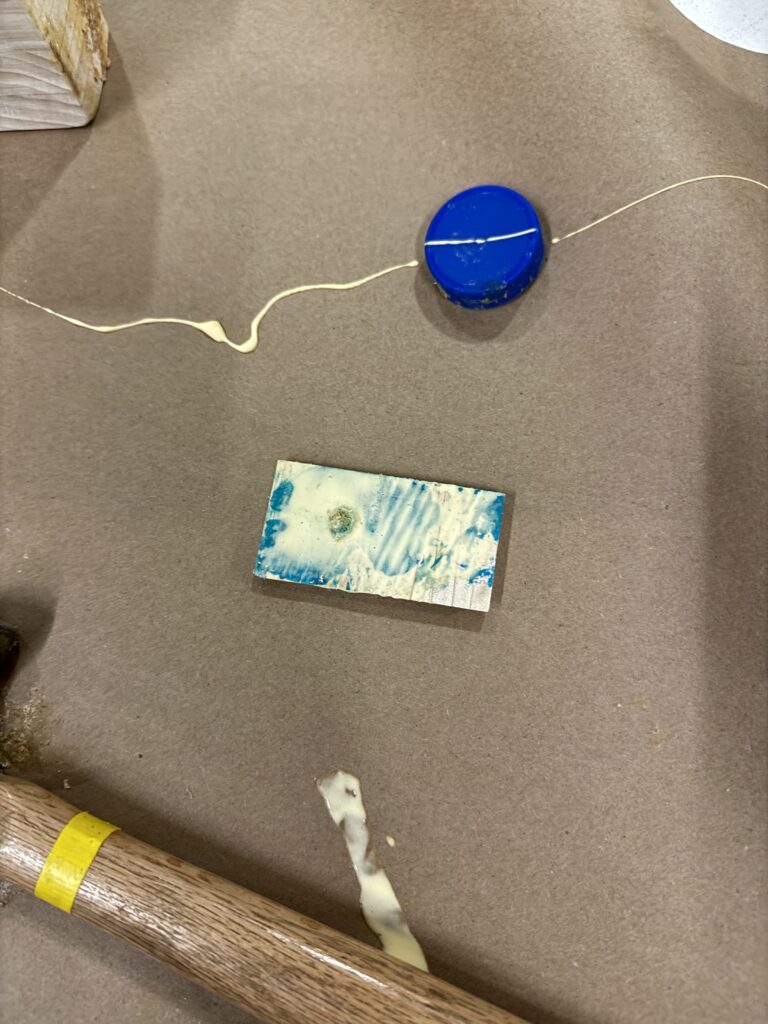
I drilled a hole in the larger block and then used a bit of paint to help me figure out where I should drill the hole in the smaller part. Next, I glued the dowel in and hammered it into the larger block before going to cut it. This took quite a bit of hammering.
After getting the dowel in, I cut a bit off and drilled the hole in the other smaller triangular prism.
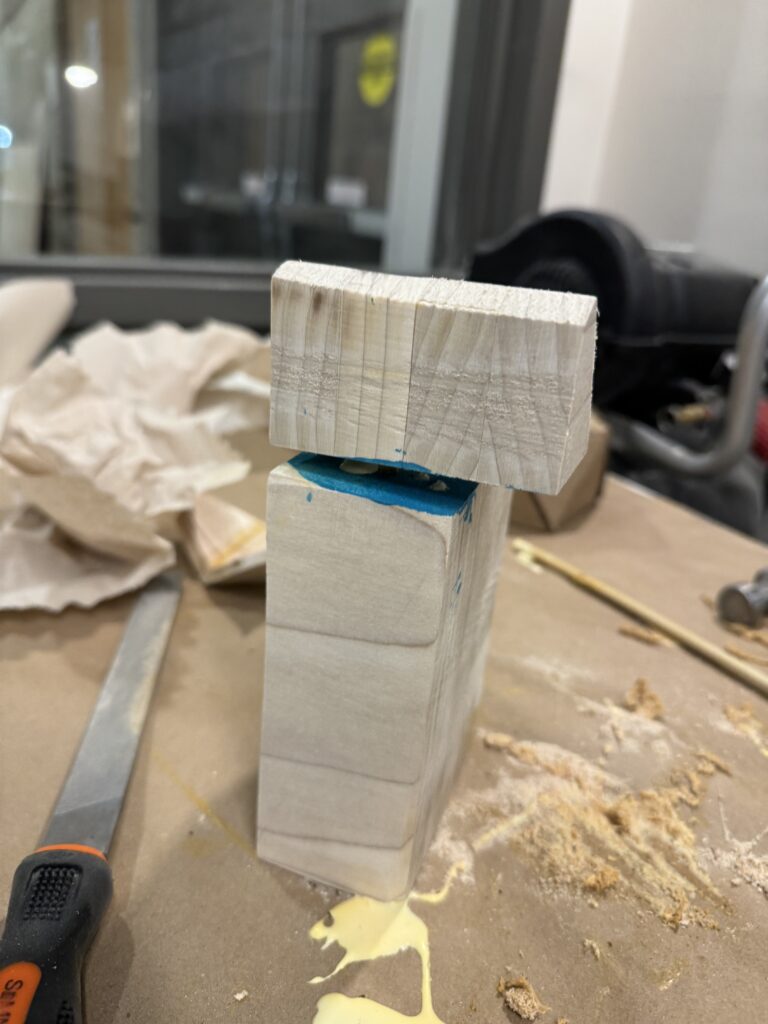
I then tried to connect the two pieces together. The dowel was hard to get in as I might not have cut deep enough in the smaller piece. After attempting to hammer the pieces together, I was able to get the dowel inside, however there was a gap between the two pieces that I could not seem to close. After hammering some more, I decided I would give up on the dowel joint and just glue the faces together. I removed the dowel and sawed/sanded the areas of the pieces with paint on it.
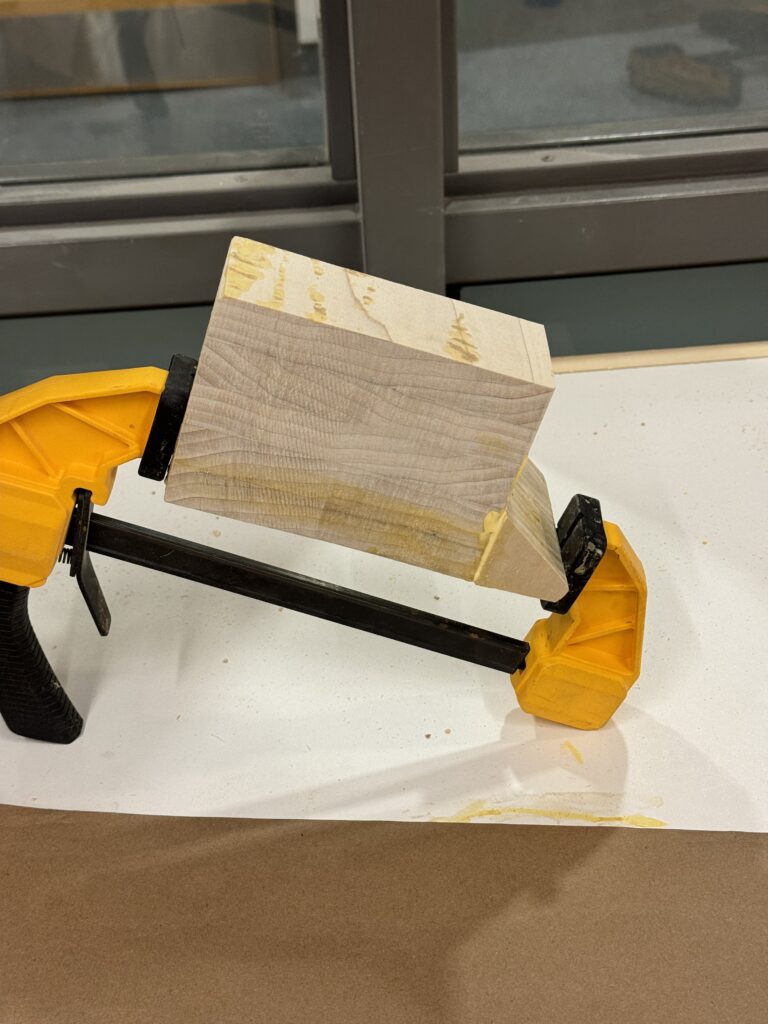
Trimming and Curving
Now that I had both pieces connected, I sawed off areas that had glue and other imperfections.
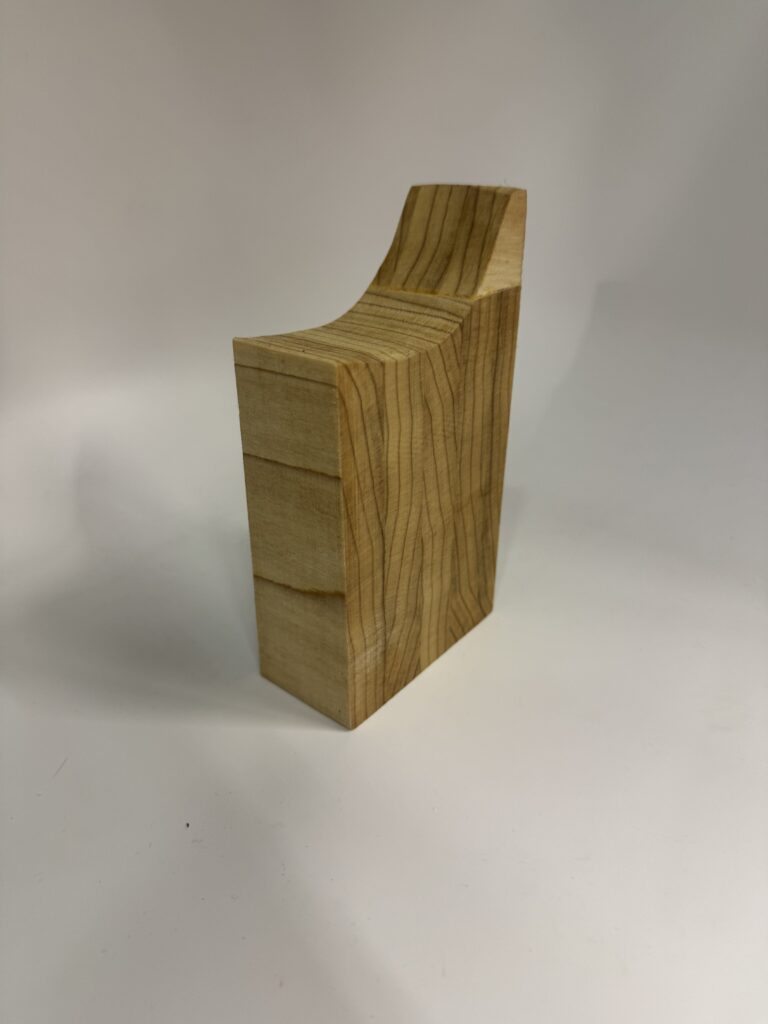
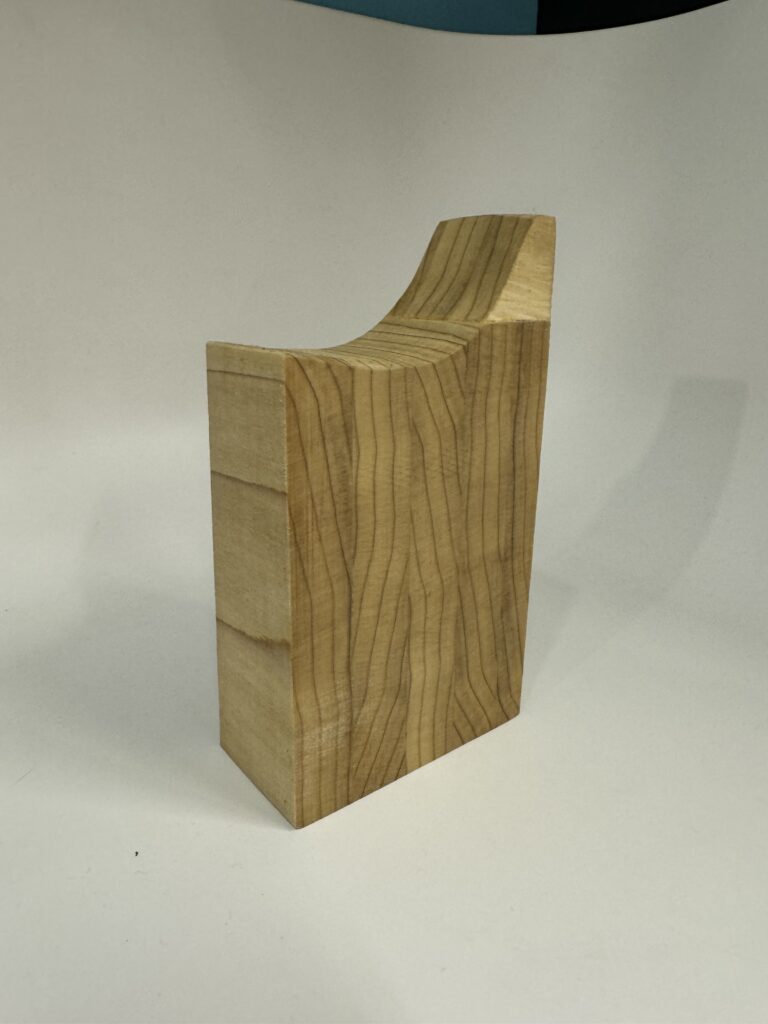
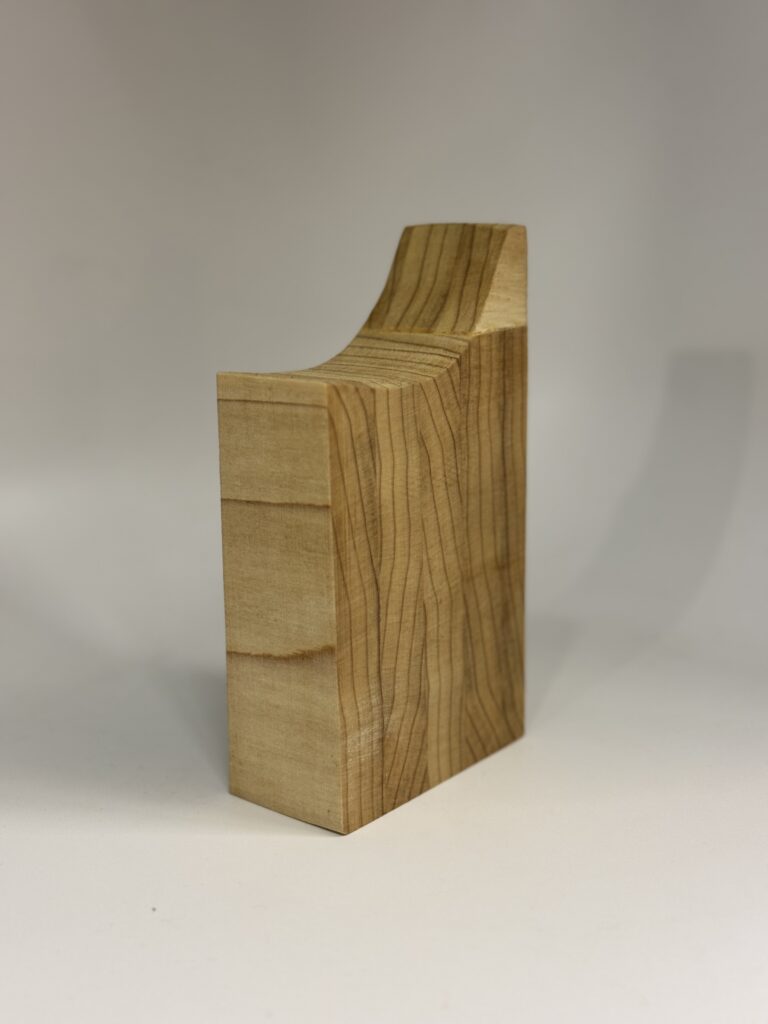
Next was on to sanding, I decided it might be cool if I made the piece have a rounded aspect to it. I ended up using the curved edge of the belt sander to make a unique curve (skateboard ramp like) shape on the block.

I tried to eliminate evidence of the glueing of the two pieces together the best I could through additional sanding. I also used this opportunity to sand all sides of the piece to make it more smooth.
Finishing up
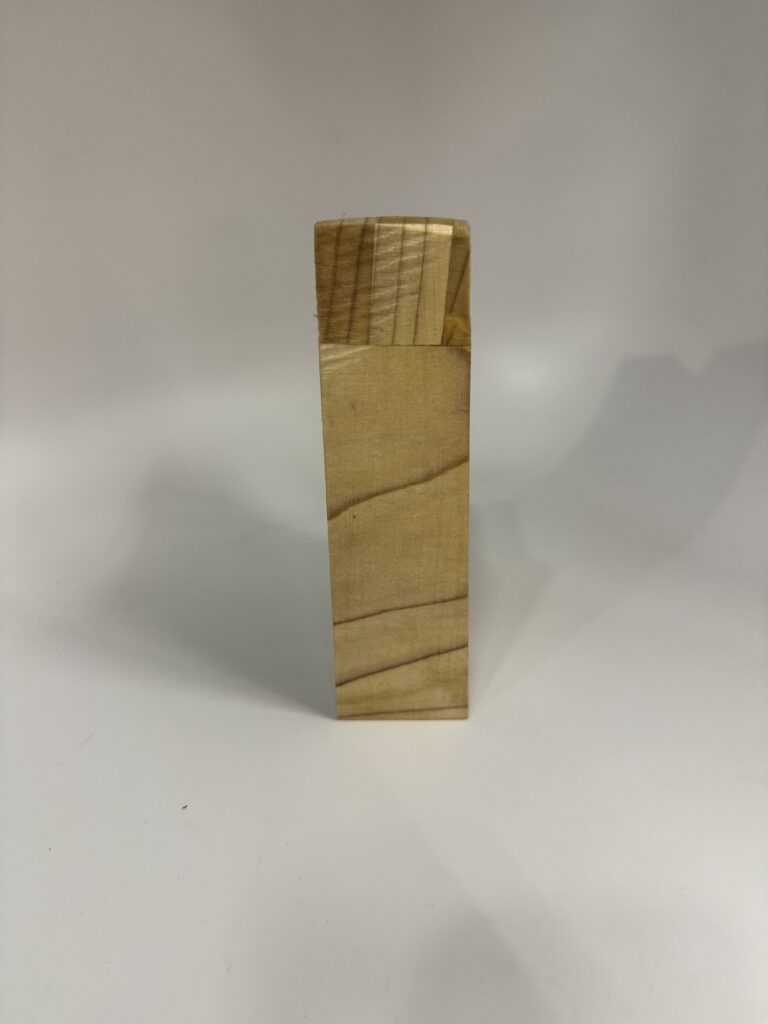
The last step was to add some oil to finish the piece. I added a little bit of what I think was some sort of seed oil (I do not remember the name). I only had time to do one coating, but I was satisfied with the color. The final step was to take some photos of my piece (with my brand new iPhone 15 Pro).
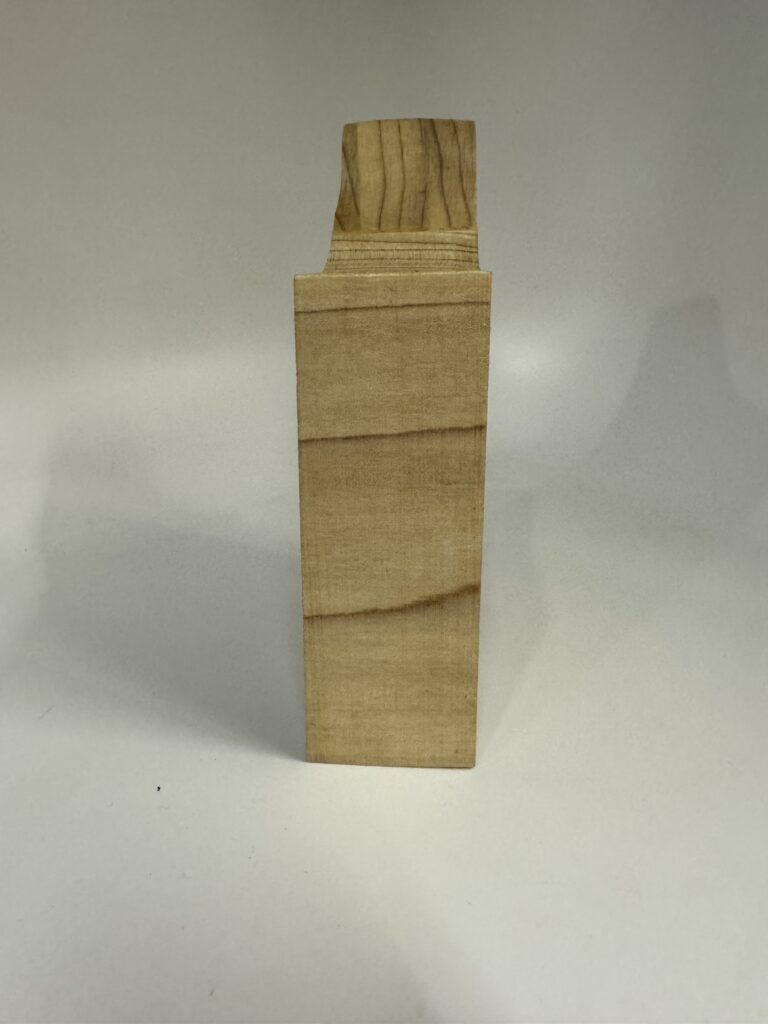
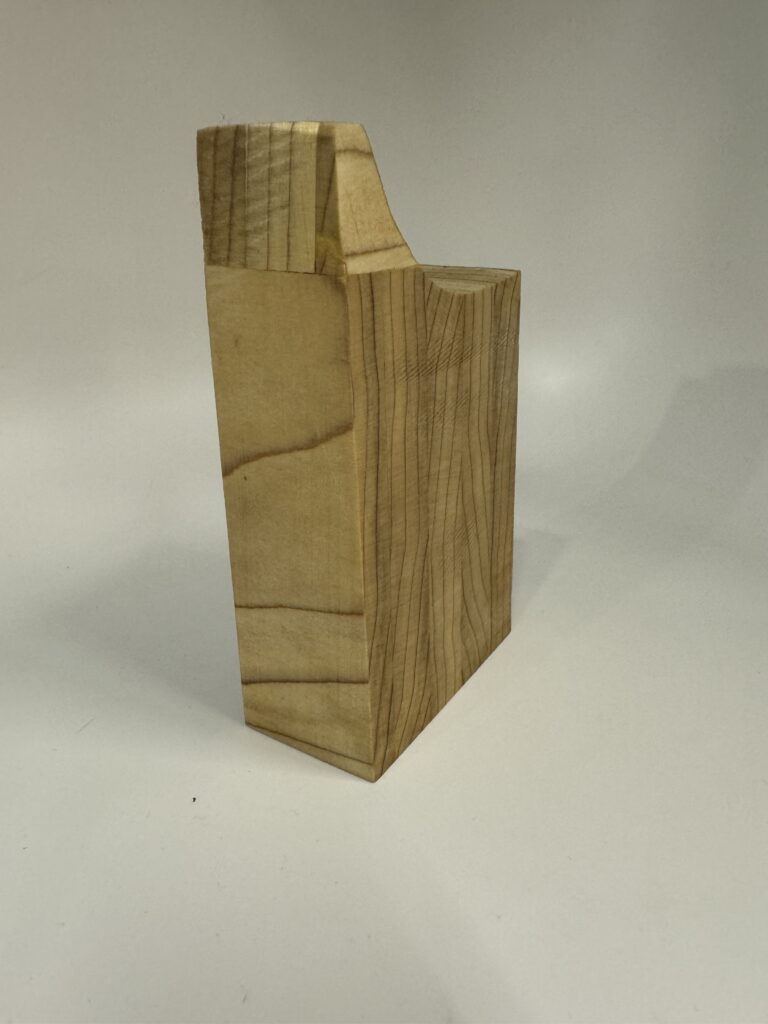
Final Photos