For our final project, we were given the choice to choose a material of our choice and create a thing with it.
Brainstorming
During the brainstorming process, I struggled to figure out what I should do. Possible ideas revolved around Christmas gifts for others, electronic wooden blocks, and useful items such as a laundry basket for the men’s track locker room. While many of these ideas were great, they were relatively complex or large and would have required a significant amount of time to complete. With a suggestion from my mom, I Googled some beginner woodworking projects and came across a guide for a mountain shaped coat/key hanger. I chose to use wood for its ease of cutting and the texture for this project (also because the project specified using wood). I specifically chose to use plywood due to the texture of it and the fact that it was one of the thicker pieces available in the BTU. Plywood is usually primarily made of a bunch of slabs of spruce, pine and fir glued together and is sometimes known as SPF wood. It is very affordable and is used for many applications such as walls, roofing, and sheds.
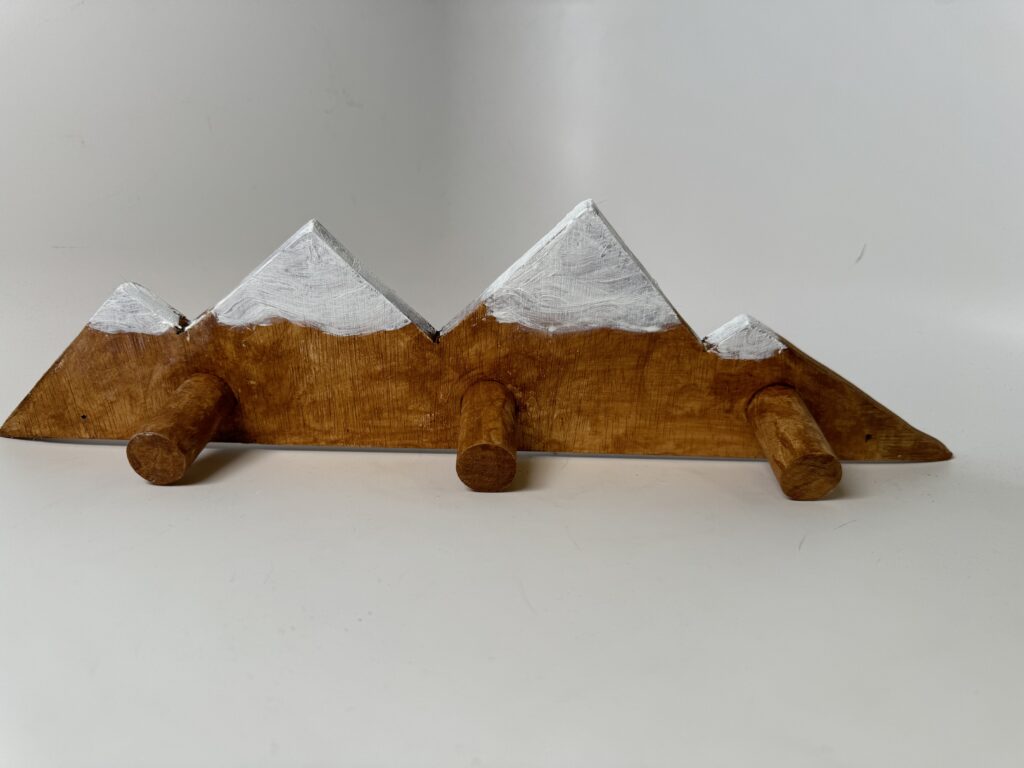
The wooden mountain coat hanger by Ana White is a simple wooden item made through cutting out wood in the shape of mountains, attaching dowels, and painting the wood to resemble the beautiful mountains of Colorado.
Starting the climb
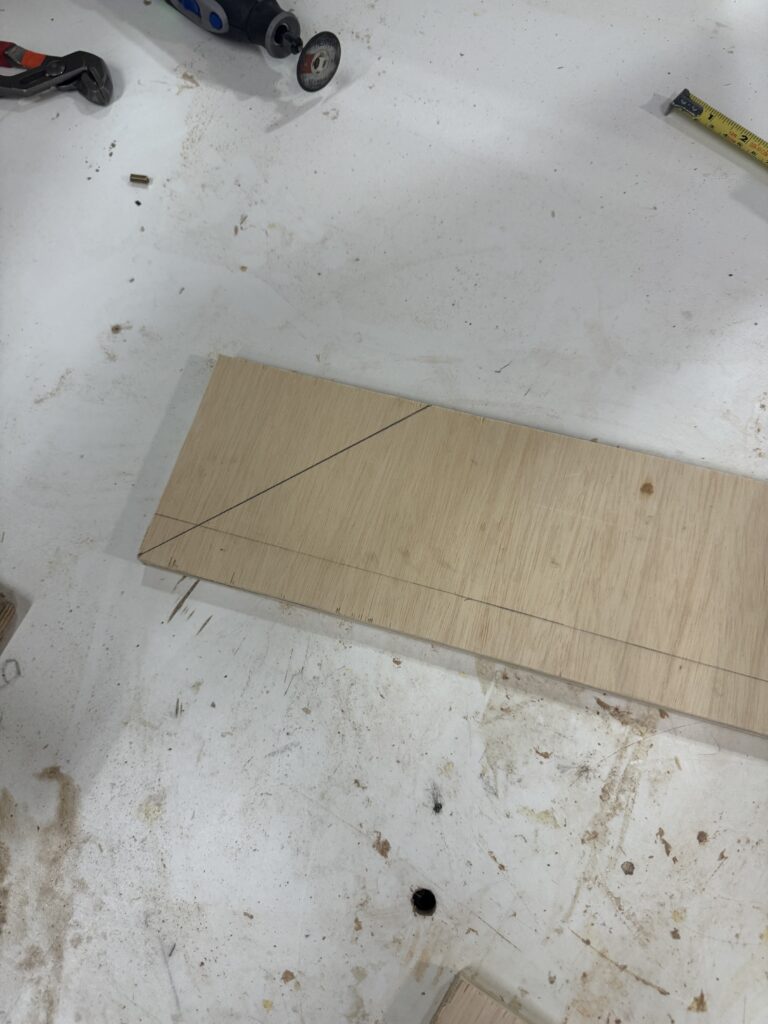
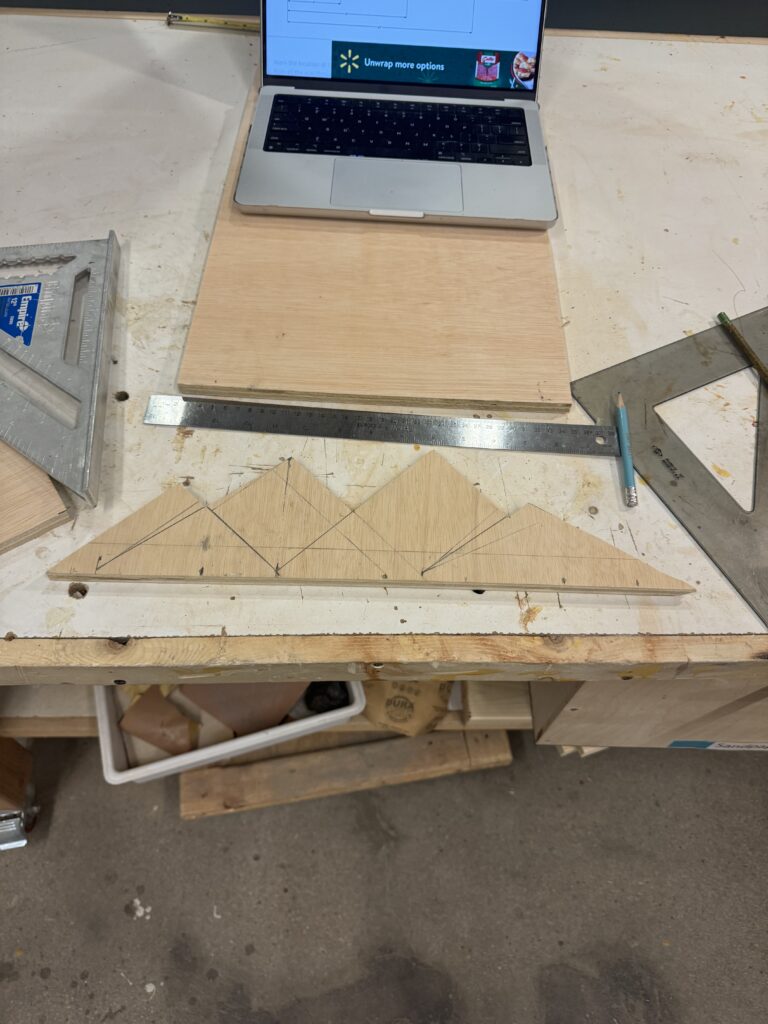
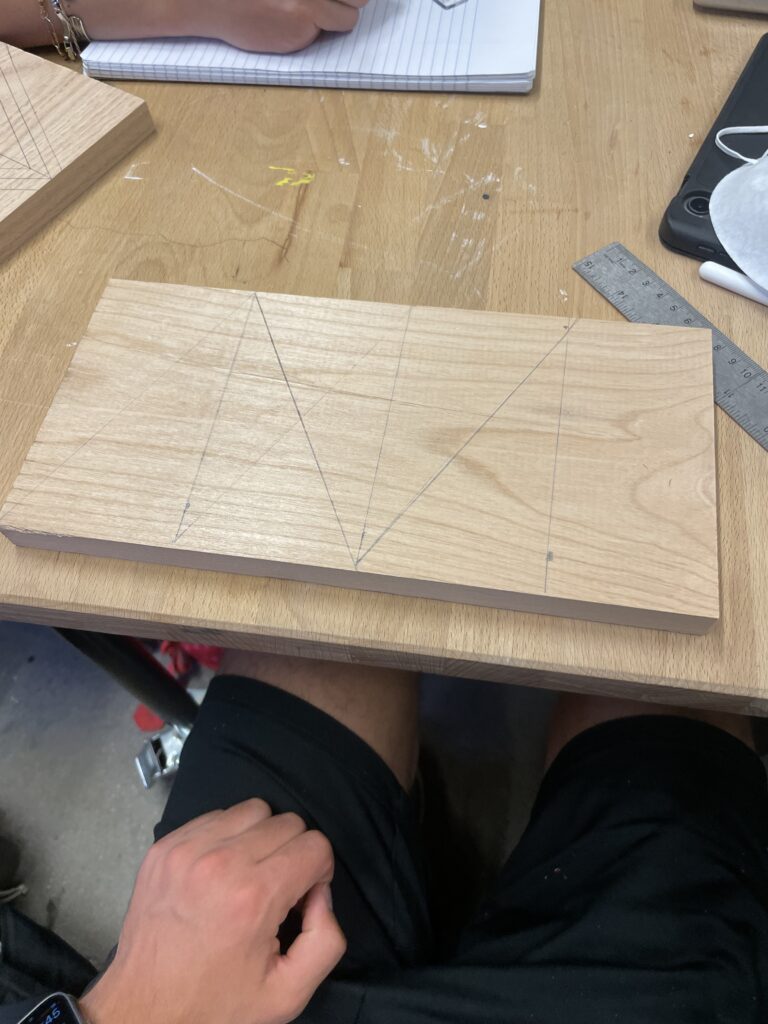
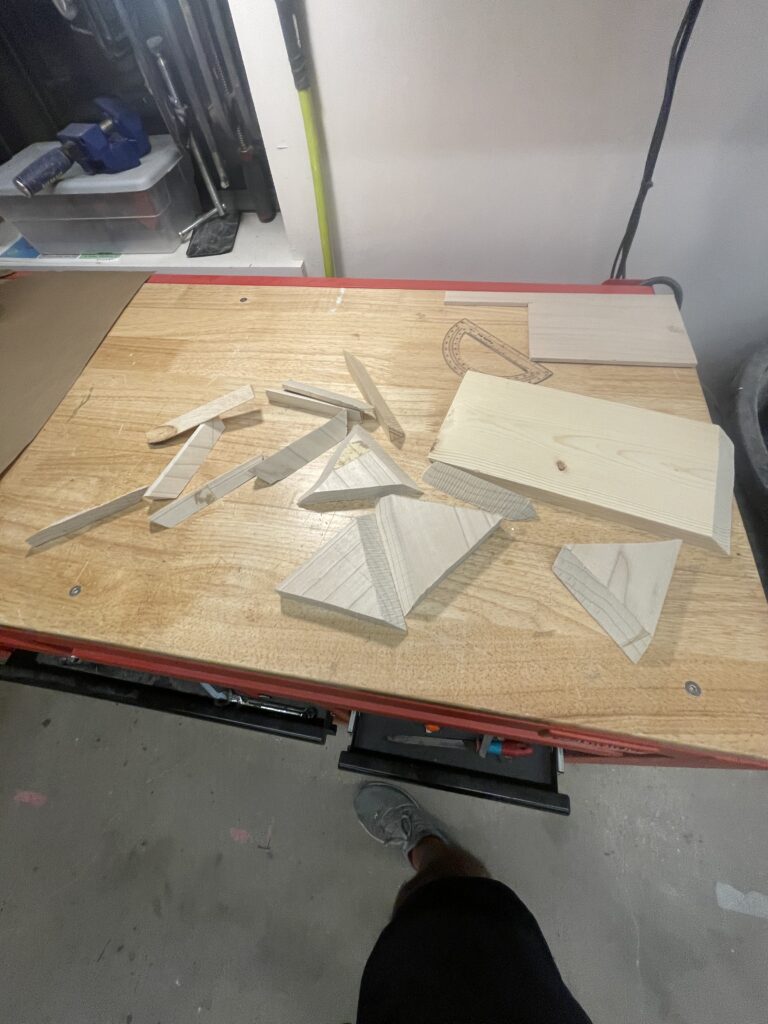
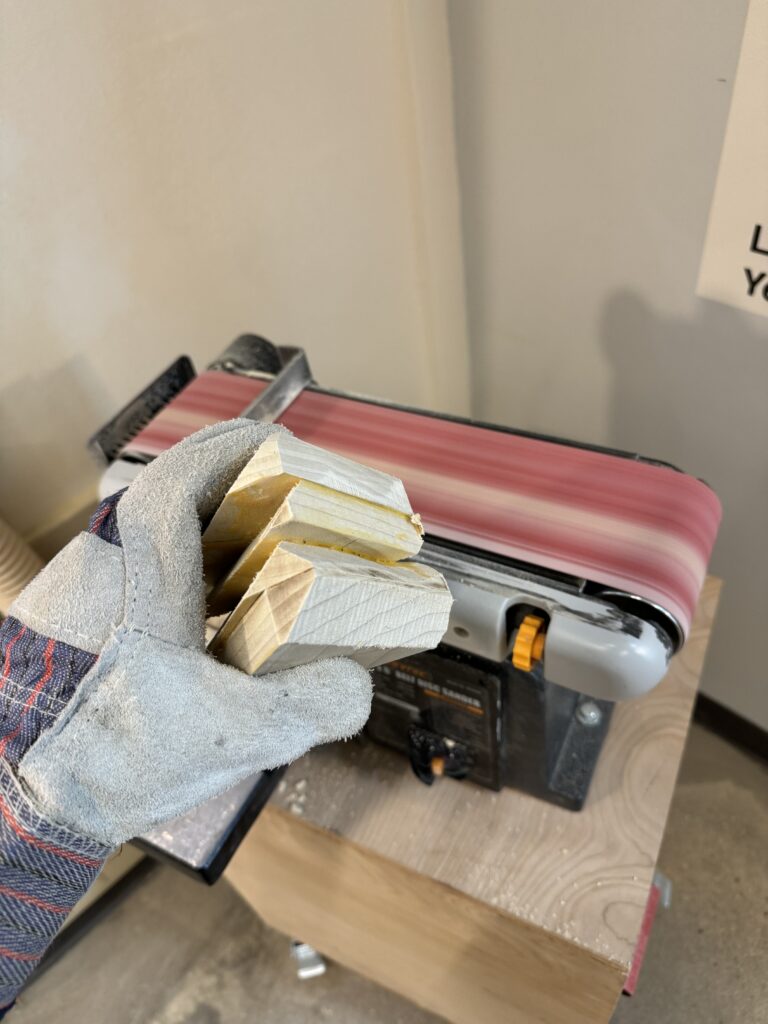
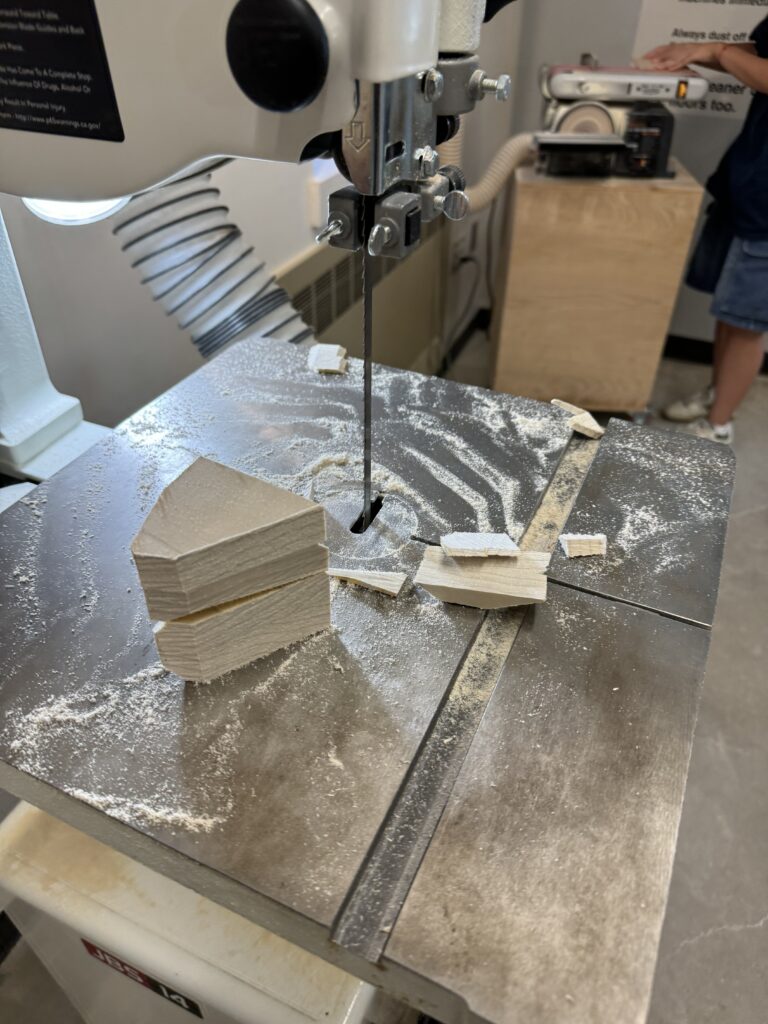
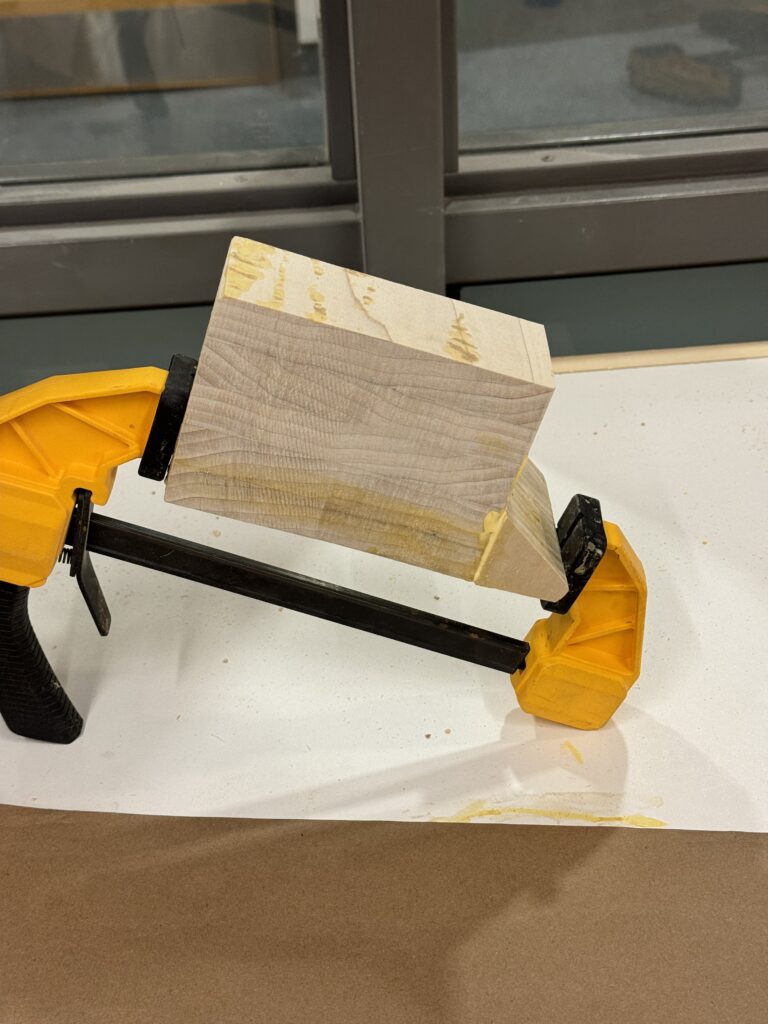
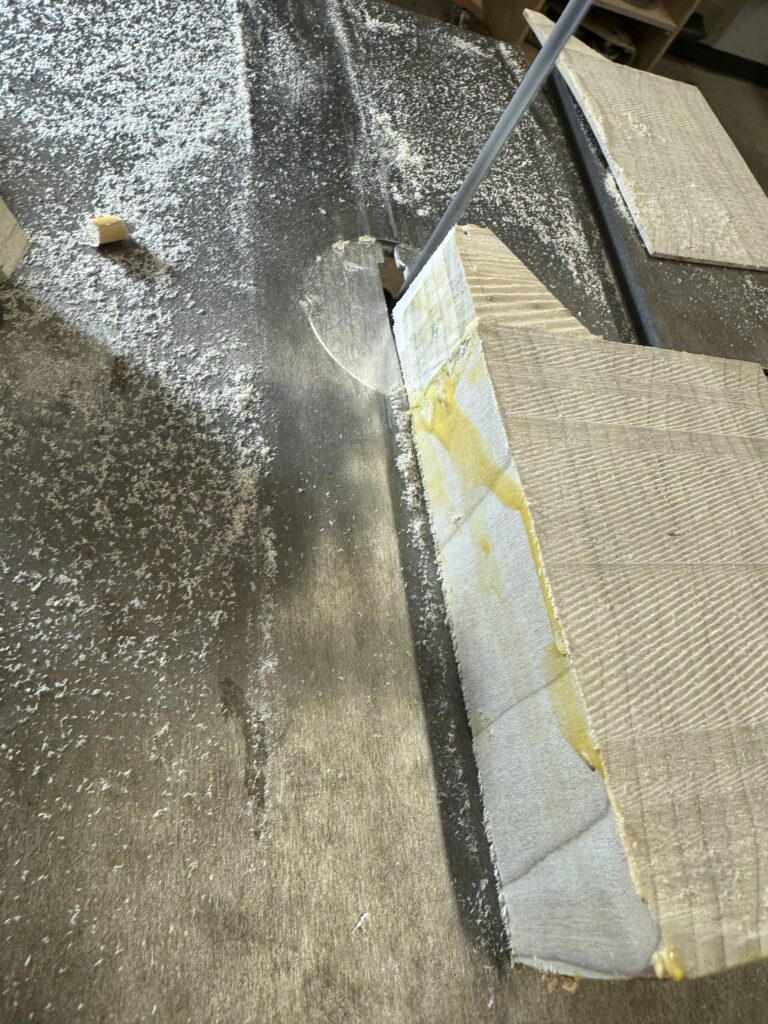
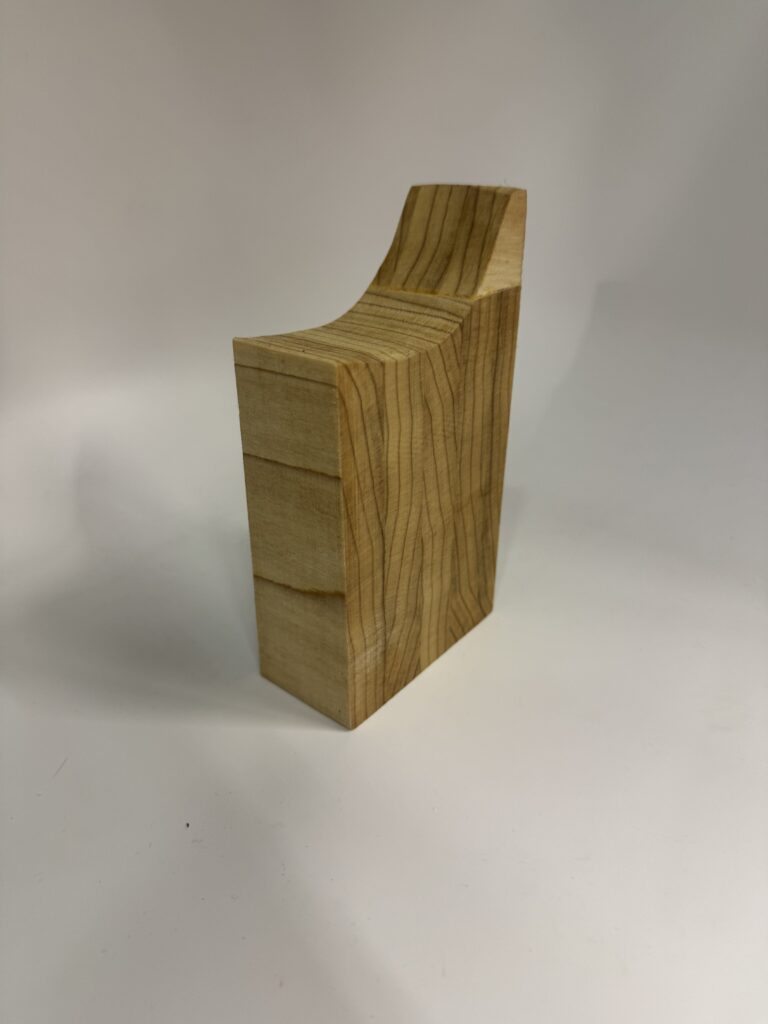
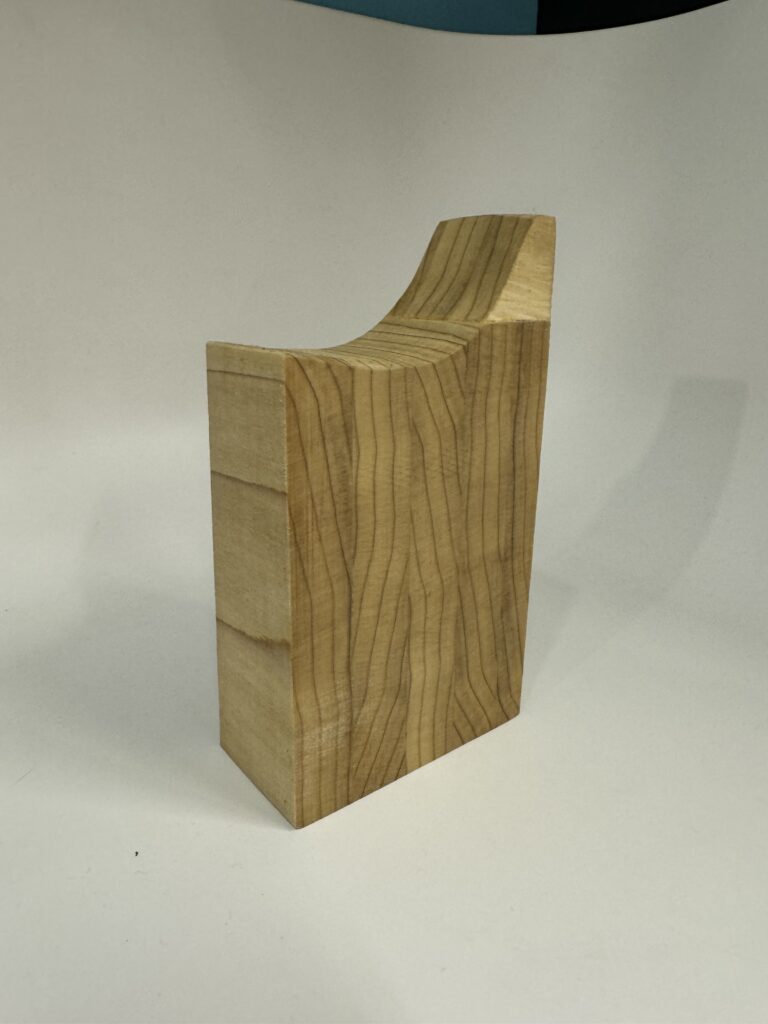
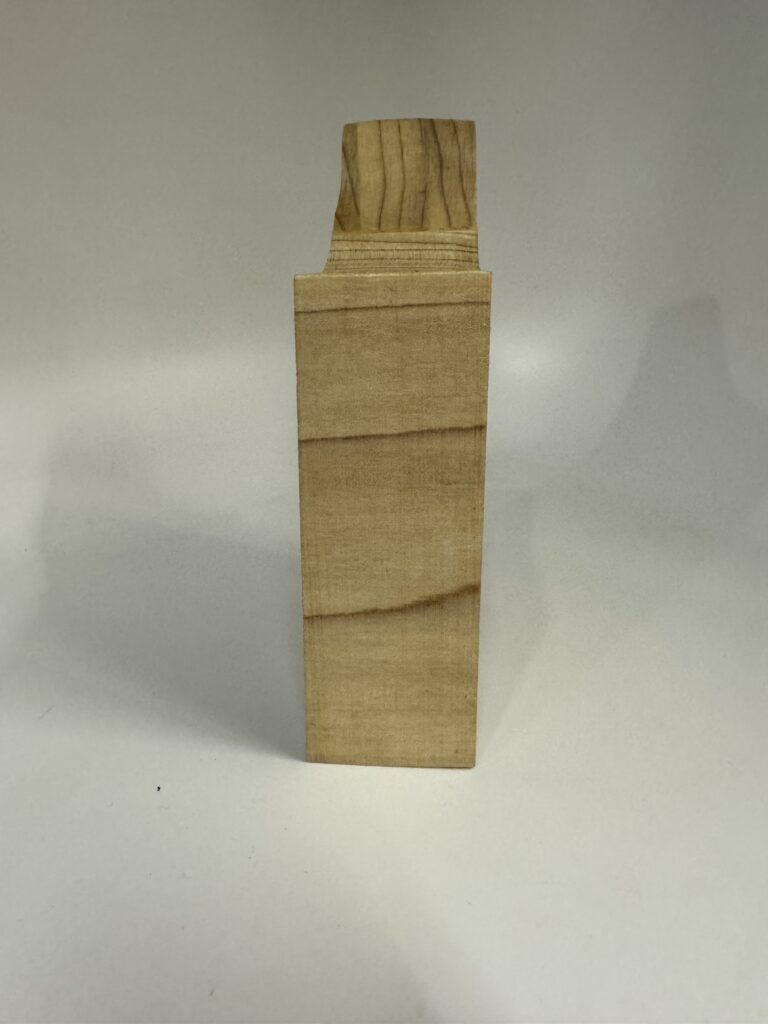
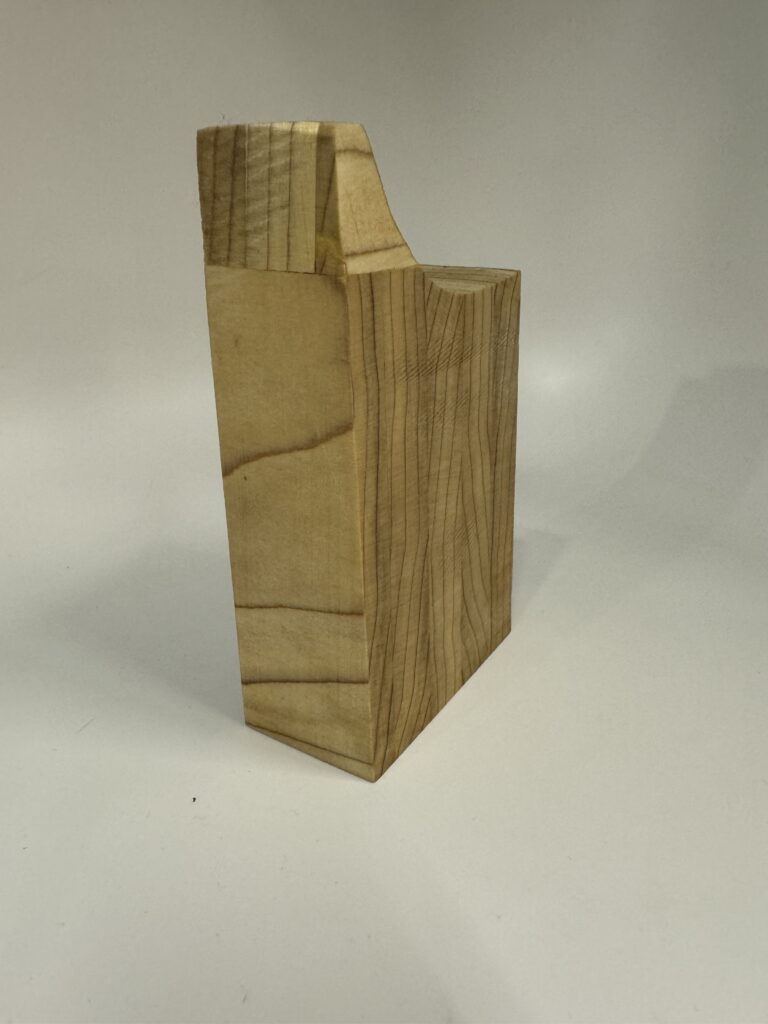
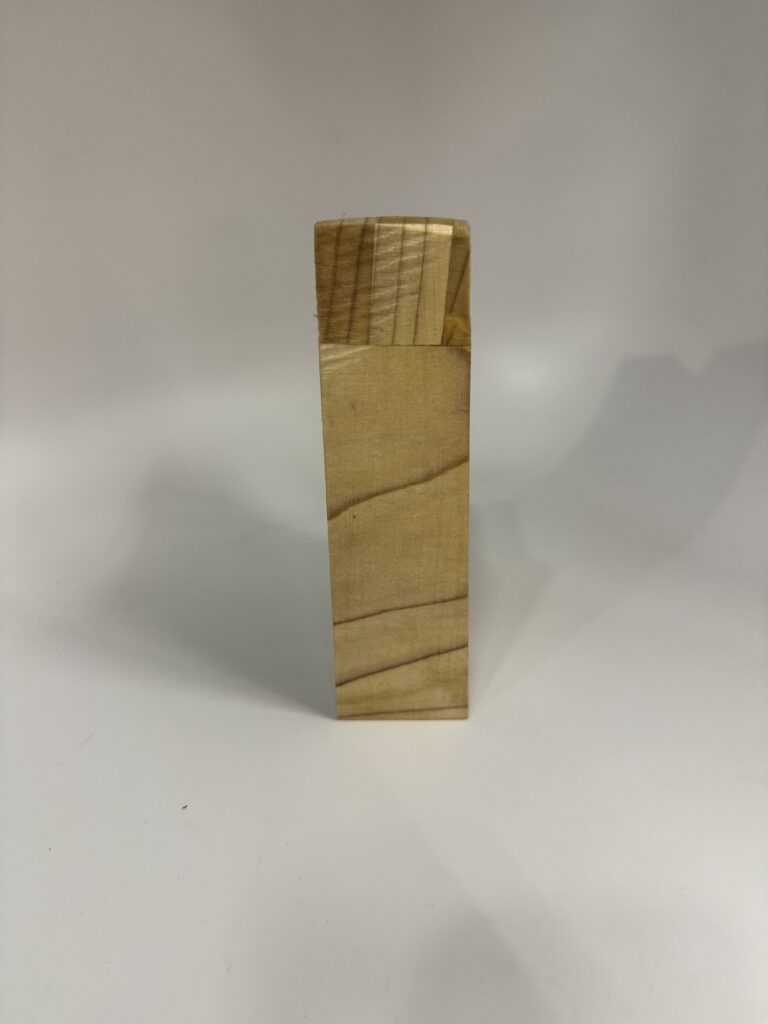
I first obtained a piece of plywood wood and used the table saw to cut it to the specified dimensions in the guide. I disregarded the thickness of the wood and only made sure that the piece I used seemed thick enough to hold 3 coats. Next I drew cut lines using a ruler and a construction square so I could cut the mountain shapes. I struggled to make the measurements for the lines exactly as specified in the instructions due to a lack of angle measurements for the triangle shaped mountains. Nevertheless, I ensured that the heights of the mountains relative to one another were the same as in the instructions. I used the band saw to make the cut on the wood lines. I then used the power sander to sand off some of my imperfections.
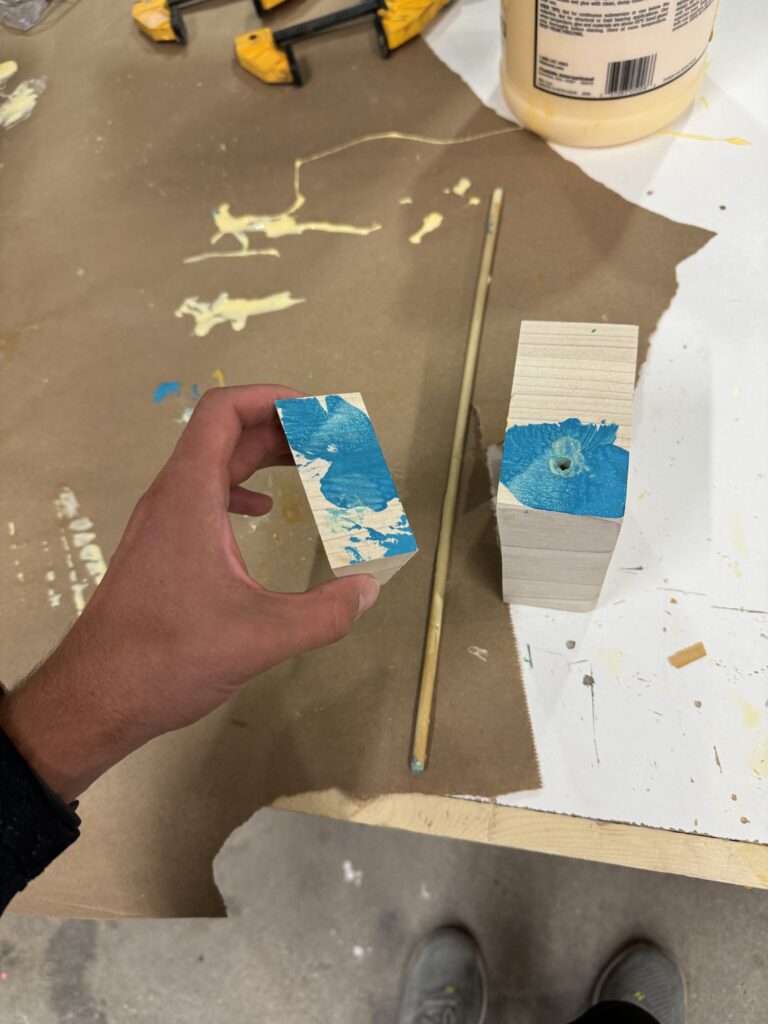
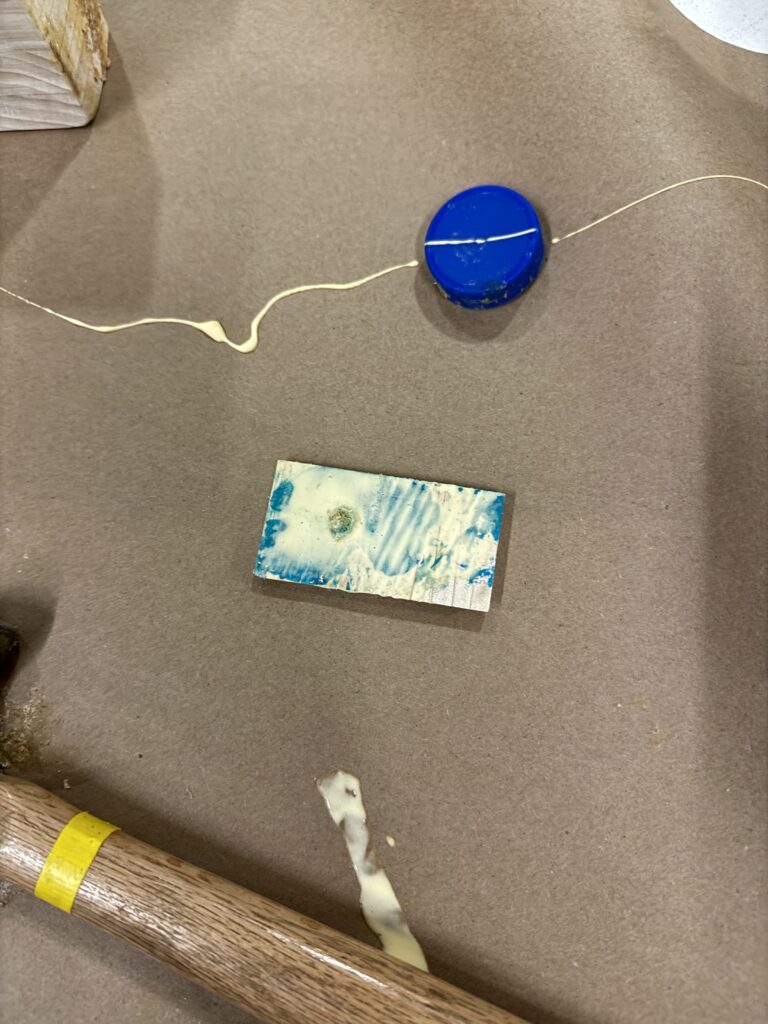
The guide specified that I should use a 3/8 drill bit to create the screw holes for attaching the dowels. I thought this was unusually large for a screw hole especially because the instructions specified using a miter to drill a hole for the dowels. I could not find any miters in the BTU lab, but I decided that I could probably avoid using miters since the 3/8th hole was quite large. I used the drill press to make 3 holes of 3/8th in diameter in the piece.
Pitstop at McGuckins
I then journeyed to McGuckin’s Hardware to buy some dowels and screws to attach the dowels to the piece. I purchased 3 brass screws of 1 1/2 inches in length and 1/4 inches in diameter. I also purchased a large dowel for me to cut that was an inch in diameter.
Assembling the hanger.
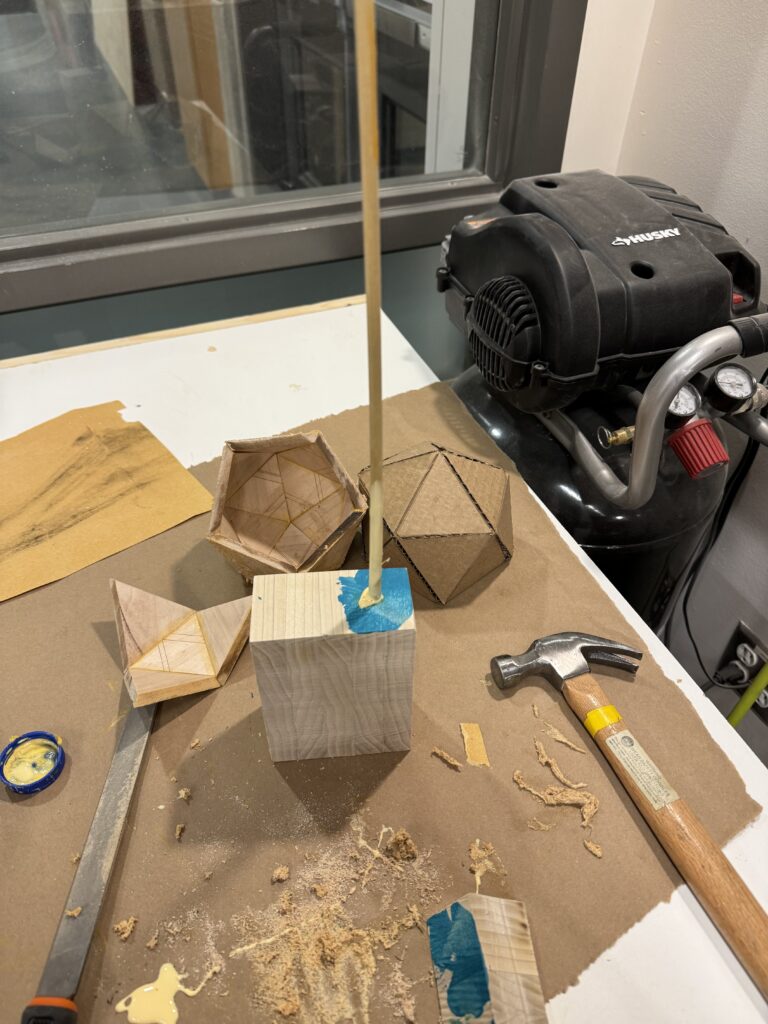
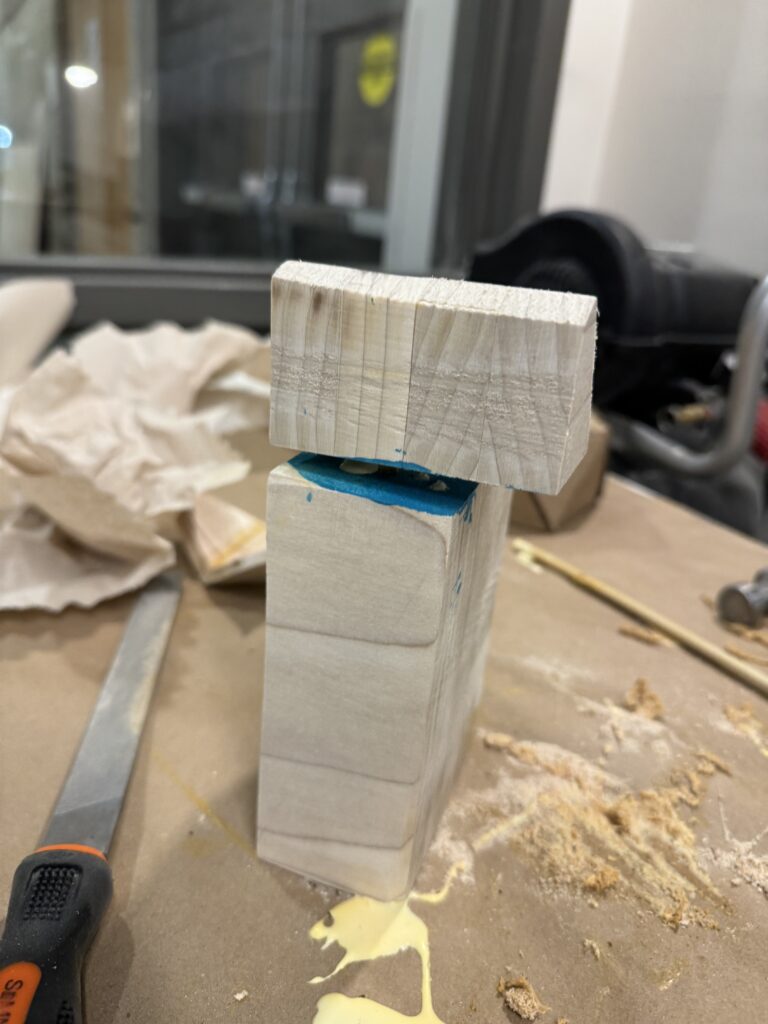
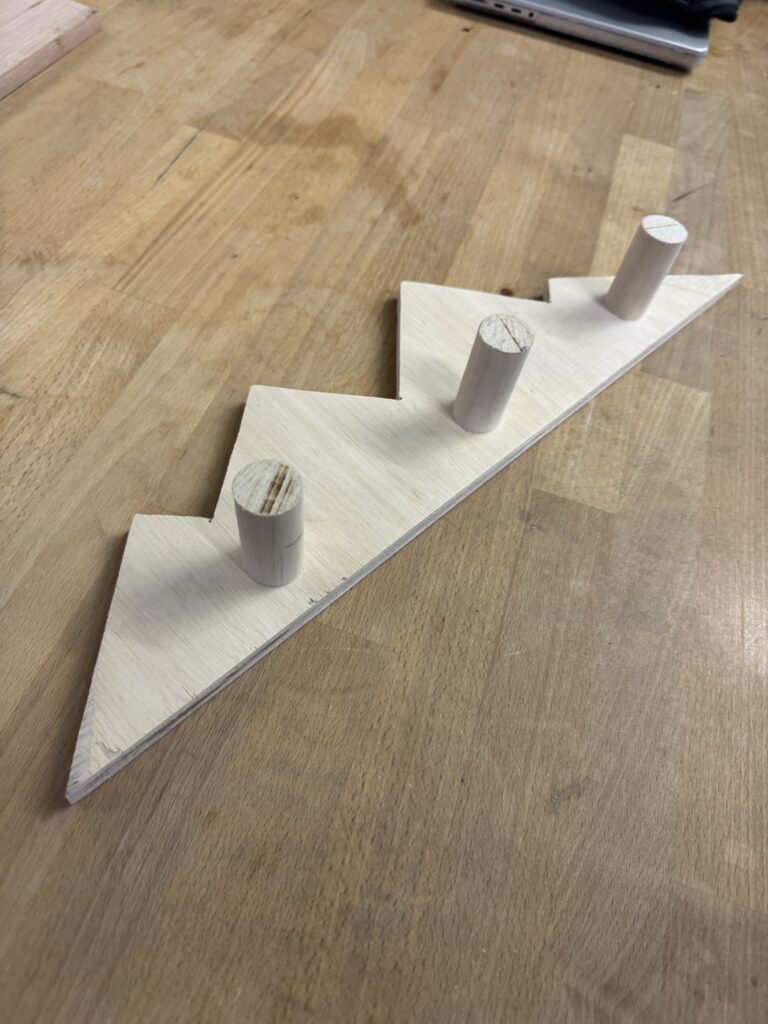
To cut the dowels, I marked them for 2 inches in length with a pencil. I tried using the table saw. Unfortunately, this launched my newly cut dowels backwards like Angry Birds multiple times causing some fragments in the cut. I decided to recut the dowels using the band saw for a much better and less deadly experience. To attach the dowels, I used a power drill and a bit that was smaller than the screw’s diameter to drill straight down to help guide the screws in. I then used the power drill with a screw head to screw and connect the dowel and the mountain shaped base together. It took me a couple tries of removing and reinserting the screws to get them to go straight down but I eventually was successful. I then used a very small drill bit to cut two more holes in the piece for nails to be used to attach the finished piece to a wall.
Finishing up
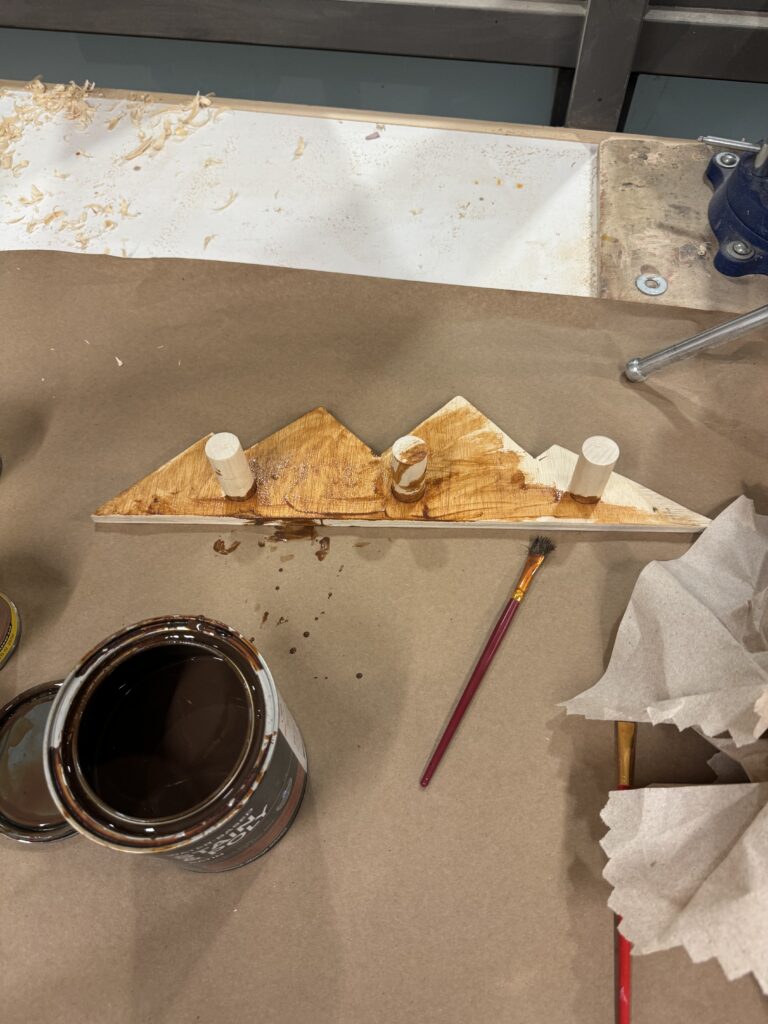
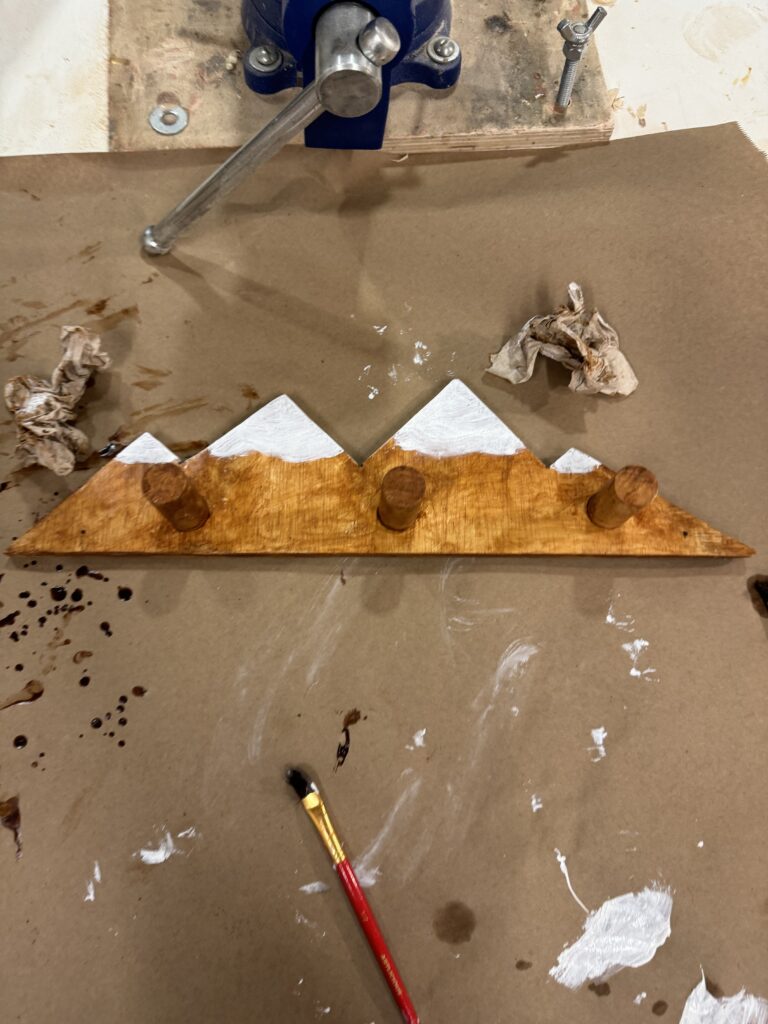
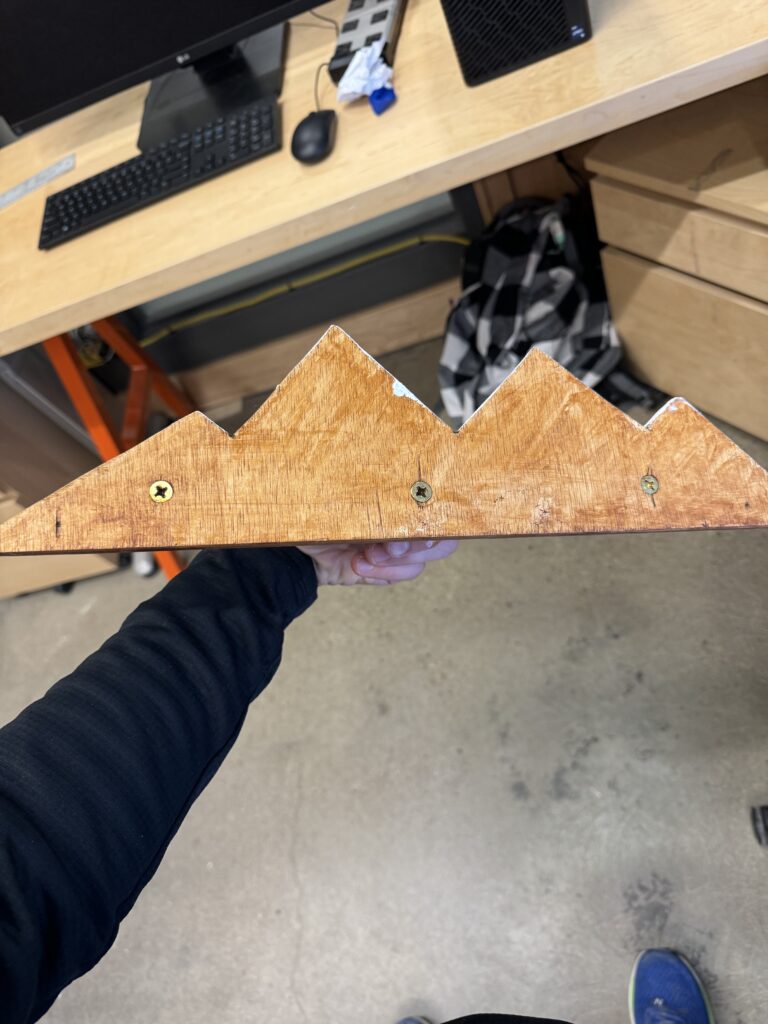
My final step was to apply a finish to the wood as well as paint the wood. I used a brown finish from the BTU lab to coat the item. While I could have applied a second coat to get the darker texture advertised on the bucket of finish, I thought the light brown looked good. I then used white paint to paint the snow on top of the mountain.
Ta-da